How to configure Harbor with Terraform

What is Harbor?
Harbor is an open source registry that secures artifacts with policies and role-based access control, ensures images are scanned and free from vulnerabilities, and signs images as trusted.
Why we choose Harbor.
We had many different cloud based container registries and wanted to consolidate these registries into a one single registry with roles-based access control, vulnerability scanning and API support. Harbor allow us to easily manage our container images with the features that we were looking for.
Why write a terraform provider.
At BESTSELLER Tech we are big believers in Infrastructure As Code and that as much as possible should be automated. One of the tools we are fond of, and utilize heavily, is Terraform. Why not use Terraform to automate the Harbor management? But there was no Terraform provider for Harbor. 😧
What were we going to do? After some time searching on Google, we found an article by Hashicorp about writing a Terraform provider. Why not give it a go? Harbor has an API we can use. And guess what, we were able to write a Terraform provider for Harbor fulfilling our needs and keeping everything as Infrastructure As Code.
How to automate Harbor configuration.
In this blog we will show you how you can configure Harbor using Terraform and the terraform-provider-harbor, written by BESTSELLER Tech. The full terraform-provider-harbor documentation is available at https://registry.terraform.io/providers/BESTSELLER/harbor/latest.
This blog assumes that you already have Harbor installed. If not, check this out.
First let's create a provider.tf file where we can specify the version of the terraform-provider-harbor and the credentials on how the provider is going to connect the Harbor API.
 1terraform {
 2  required_providers {
 3    harbor = {
 4      source = "BESTSELLER/harbor"
 5      version = "1.0.0"
 6    }
 7  }
 8}
 9
10provider "harbor" {
11  url      = "http://core.harbor.domain"
12  username = "admin"
13  password = "Harbor12345"
14  insecure = true
15}
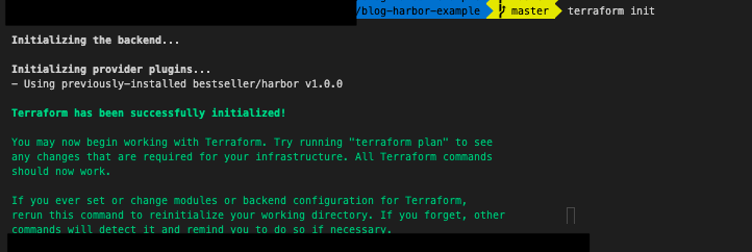
Run the command terraform init. This will download the Terraform provider from the above example, which is needed to configure your installation of Harbor.
Once we have this code in place and performed a terraform init. We are now ready to start configuring Harbor with Terraform. Let's start by creating a project named vessel where we can store our docker images and helm charts.
Let's create a main.tf file and add the below code.
1resource "harbor_project" "vessel" {
2    name = "vessel"
3}
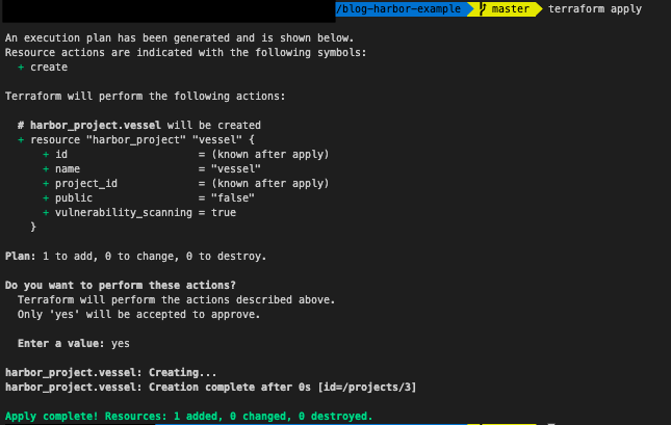
Now run the command terraform apply. This will create a plan where we will be able see what resources will be created. If we are satisfied with the changes, we can confirm the creation by typing yes.
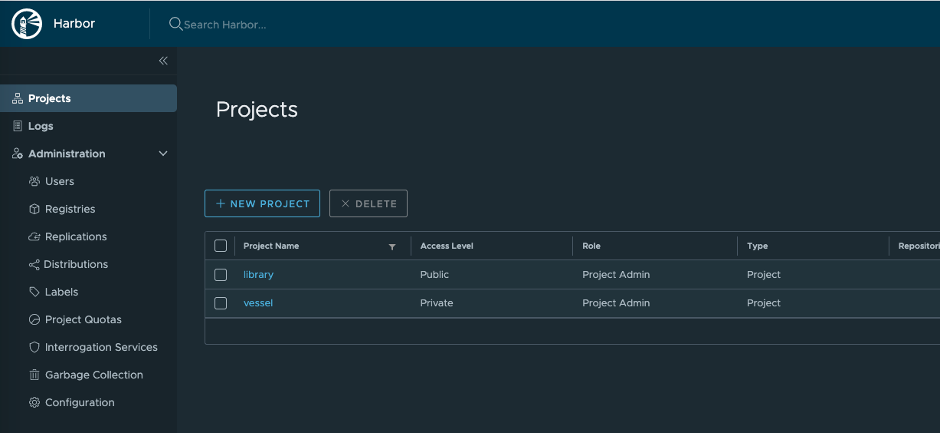
All applied! But did this actually work? Let's confirm the creation of the resource via the Harbor GUI.
That worked like a charm. Now let's create a user account called Captain Kube using the harbor_user resource. Add the following code to the main.tf file and run the terraform apply command again.
1resource "harbor_user" "captain" {
2  username  = "kube"
3  password  = "Password12345!"
4  full_name = "Captain Kube"
5  email     = "captain.kube@kubernetes.com"
6}
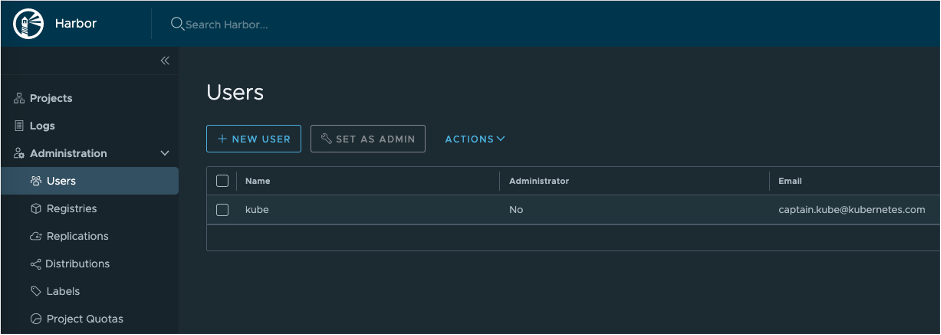
Again, let's just confirm the creation of this account via the GUI.
Now that we have a user account and a project, we can give Captain Kube developer access to the vessel project by using the Terraform resource harbor_project_member_user.
1resource "harbor_project_member_user" "kube" {
2  project_id = harbor_project.vessel.id
3  user_name  = harbor_user.captain.username
4  role       = "developer"
5}
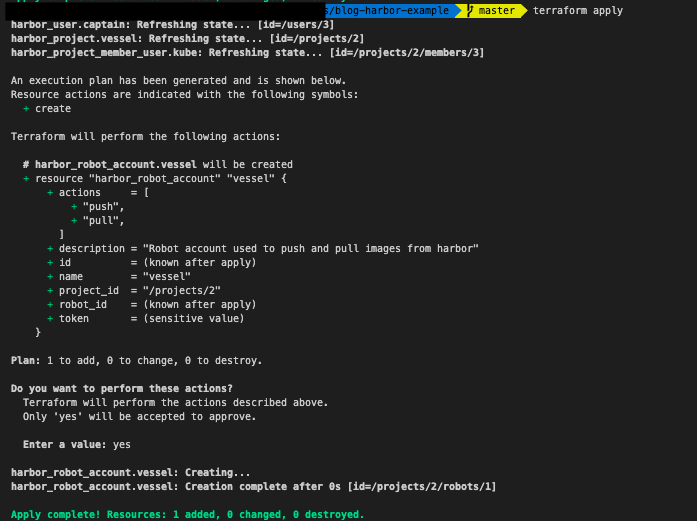
Now Captain Kube should be able to push and pull docker images, easy right? But the captain wants to automate his docker builds, using his own credentials would unwise. That is why Harbor have Robot accounts. Let's create a Robot account for the captain. This will allow us to push and pull docker images without using our own credentials. This is brilliant in a CI/CD scenario where you typically share the pipelines. By adding the below code to the main.tf file we can create the robot account.
1resource "harbor_robot_account" "vessel" {
2  name        = harbor_project.vessel.name
3  description = "Robot account used to push and pull images from harbor"
4  project_id  = harbor_project.vessel.id
5  actions      = ["push","pull"]
6}
Once again we'll run the terraform apply command and confirm yes to create the robot account.
Please note you can write the robot token to Hashicorp Vault by using the below code.
 1locals {
 2  robot-prefix = "robot$"
 3}
 4
 5resource "vault_generic_secret" "vessel" {
 6  path = "secret/service_accounts/harbor/${harbor_robot_account.vessel.name}"
 7  data_json = jsonencode(
 8    {
 9      "username" = "${local.robot-prefix}${harbor_robot_account.vessel.name}",
10      "password" = "${harbor_robot_account.vessel.token}"
11    }
12  )
13}
Final Words
With the Terraform provider in place, it is pretty easy to create a whole setup for our Captain Kube user. The benefits of doing it with Terraform is, that we always know the desired state. We have focused on the features that we utilize within BESTSELLER Tech, so if you would like to contribute, request a new feature or report a bug. Please don't hesitate, just go to https://github.com/BESTSELLER/terraform-provider-harbor.
You can find the examples on our github account https://github.com/BESTSELLER/blog-harbor-example.
The latest documentation can be found at https://registry.terraform.io/providers/BESTSELLER/harbor/latest/docs.
All the best from BESTSELLER Tech.
About the author

Brett Wright
I'm an Australian living and working in Aarhus Denmark. Currently working for BESTSELLER written infrastructure as code, golang and automating everything.